
Customizing your Nikon Z 8 settings will enable you to get the highest performance out of this flagship mirrorless camera. Customization for me means going beyond the basic adjustments and really fine-tuning the camera to your needs.
I just received my Nikon Z 8 and I wanted to share some of the things that I choose to change when I'm doing my initial setup in the Nikon Z 8 settings.
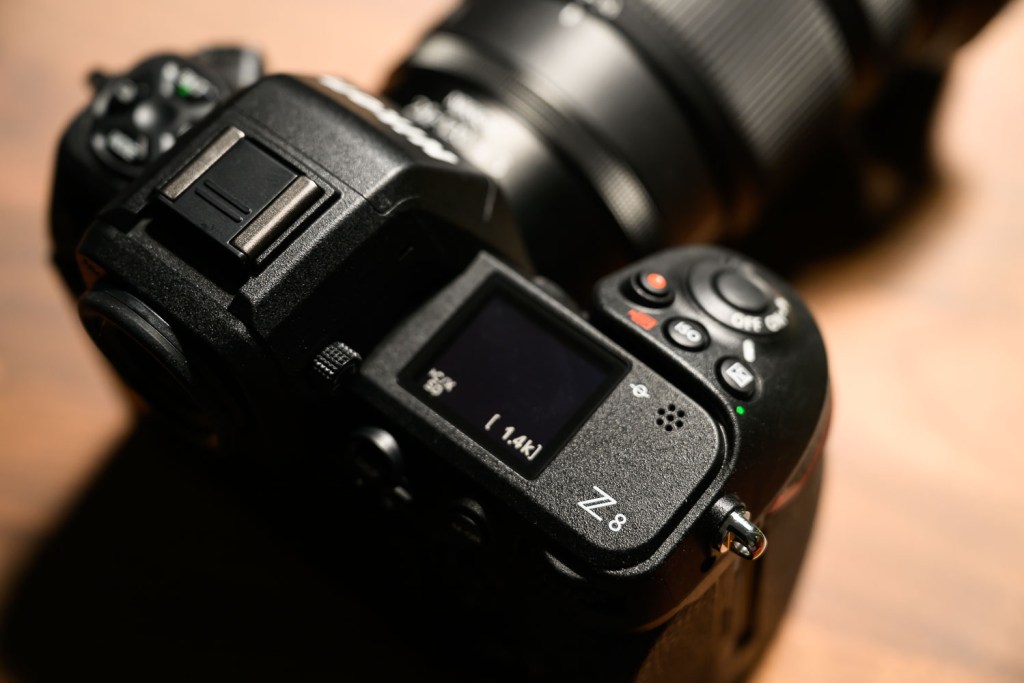
Very First Nikon Z 8 Settings
Language: English
The first thing that camera asks you to do when you turn on the Z 8 is to choose a language preference if it is not already set. Easy.
Time and Date: Current location
From there, I set the time and date immediately. My preferred date format is YYYY/MM/DD, while the standard is D/M/Y (Day / Month / Year).
Image Quality: RAW
This is an important step. One of the very first things I do immediately with a new camera is to set the image quality level to RAW. And then I leave it there for the rest of the life of the camera as far as I own it. This is the very next step I took in changing my Nikon Z 8 settings aside from setting the language and date.
At the the time of writing, Adobe Lightroom already recognizes the Z 8 and “camera standard” color profiles. This is great news! It makes sense, as the Nikon Z 9 has been out for a while and the Z 8 should be essentially identical in terms of sensor data.

Setup Menu
Sensor shield behavior at power off: ON
The Z 8 is equipped with a sensor shield, just like the Z 9. This is a physical barrier that expands to cover the sensor when needed. By default, the sensor shield is off. Turning on this setting will have the camera's sensor shield come down whenever you power off the camera.
Copyright Information: ON
Always a good thing to write copyright info to your files in-camera. As a bonus, add in your relevant ITCP metadata, but at the very least adding your name as the copyright holder by default is a good step for all photographers.
Viewfinder Brightness: Manual
For general photography, using auto viewfinder brightness may be fine and beneficial. For my work and particularly using manual exposure mode, manual viewfinder brightness is ideal and my preference. The reason behind this is that I've found that the viewfinder will compensate for the relative brightness of the scene itself based on the image, even if you're in manual mode.
So for example, viewing a very dark scene, the camera will increase viewfinder brightness or otherwise show more detail in the shadows. Using manual exposure mode, I prefer to have the viewfinder not make these corrections and to present a consistent viewfinder experience as I'm making rough exposure judgements based on the presentation of the scene in the EVF.
As an aside, I've written why I feel the Z 9's EVF experience is the best yet out of any camera I've used, all of which apply to the Z 8's EVF.

Photo Shooting Menu
File naming: Custom
I use multiple cameras, and custom file naming helps me avoid potential confusion there. I also like to name the files by camera model for archival purposes, so I'm naming this Z 8's filenaming to start with “Z8.” I also use two Nikon Z 9 currently, which I have set as Z9A and Z9B, so for this Z 8 I have the filenaming set as Z8C.
Color Space: Adobe RGB
Adobe RGB will give you the widest colorspace. While the output of your images will likely be sRGB (the default), setting the camera default to Adobe RGB is a must have for me.
ISO Sensitivity: Auto ISO OFF
I prefer to use manual exposure mode and have full control. As such, I also turn auto ISO off. For my photography, I find that auto ISO is essentially another program mode that changes the ISO instead of other exposure variables. Due to the variability of concert photography, I prefer to have control over that as I'm already weary of auto modes for this type of photography.
Set Picture Control: Standard
The default picture control is auto. While I'm using RAW as a default, I still want to have a consistent baseline for image review in camera. I'm setting the picture control to standard with the assumption that the built-in JPG used for fast previewing in programs like Photo Mechanic may have the picture control baked in (along with other variables related to in-camera processing like noise reduction).
High ISO NR: Off
The high ISO noise reduction is set to high by default. Due to the image smoothing behavior of noise reduction, I prefer to see a little more detail when I check focus at 100%, so I prefer to set noise reduction to off. When I process images in Adobe Lightroom, my default setting is zero luminance noise reduction, so this is a more parallel experience for me (I do use a small amount of chroma noise reduction in LR).
Active D-Lighting: OFF
Similar to the above, I prefer to see the image without additional processing, so I opt to have Active D-Lighting turned off by default.
Focus Mode: AF-C
I use AF-C (continuous autofocus) mode essentially 100% for my work. The only time I switch to AF-S (single) is working in the studio for portraiture with still models.
AF-area mode: 3D
3D Tracking is my favorite AF mode of all time. It was present in the Nikon D750 and D850, and I have used it extensively with the Nikon Z 9 With the Z 8, it's going to be my go-to focusing mode. Read more about the Autofocus modes of the Z 9 in detail, of which the Z 8 shares all essential modes.
Custom Settings Menu
a12: Built-in AF-Assist illuminator: OFF
As a music photographer, I am generally trying to be as discrete as possible, whether I'm photographing a concert or doing back stage reportage. So, while the built-in AF assist lamp is handy, I always turn it off to be able to work as invisibly as possible.
d11: LCD Illumination: ON
Working in dark environments like a photo pit at a concert, I'm happy to use the illuminated button function of the Z 8. The backlit buttons are a welcome feature to have in a flagship like the Z 9, but also great to have them in the Z 8.
d18: Custom shooting viewfinder display
For my work, I rarely need the virtual horizon, so I've customized my EVF display options to remove the virtual horizon from Display 3 under this setting.

f2 Custom Controls — Shooting
- Fn1: Playback
- Fn2: 100% (1:1) Magnification
- AF-ON: Preset focus point
- Video record button: Live view info display off
My shooting mode customization is largely setup to enable quick image review and rating, which aids me in faster processing.
Otherwise, the AF-ON button resets my focus point to center in my preferred 3D Tracking mode.
f2 Custom Controls — Playback
- Fn1: Rating
- Fn2: Filtered Playback
For playback, my very few custom settings at this time are dedicated to in-camera rating and filtering to accommodate that view. This is part of my own workflow, where I can add star ratings to images as I shoot to dramatically cut down on editing time.
Other Controls:
- Exposure Mode: Manual
- Drive mode: Continuous Low (5fps)
- AF-Area mode/subject detection: People only (turning animal and vehicle detection off)
These are not customizations so much as my preferred settings. I use manual mode 100% of the time and always use continuous high with AF-C. I find it's better to have the option for speed when I need it, rather than need to change settings back and forth.
I default to 5 FPS for general shooting. In real world shooting, this will generally result in 1-2 frames for any light, short shutter press. I find, for my own work, it's manageable to shoot on continuous drive mode 100% of the time. The only exception is when I'm shooting with studio strobes, at which point I'll switch to single mode.
With my music photography work, I am limited to just people, so that's my default for subject detection.
Nikon Z 8 Settings Summary
There you have it. These are the customizations I've made to the Nikon Z 8 settings, which setup up the camera in my preferred way of use.
I'm sure that I'll continue to tweak the custom button assignments and to explore the features of the Z 8. If you're configuring your own Nikon Z 8 settings, I hope the above helps!