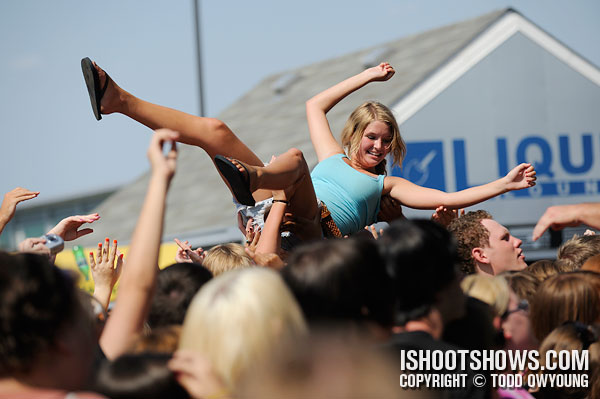
 It's hot, the summer solstice has come and gone, and, more importantly for many young music fans, Warped Tour is cris-crossing the country for the two months. Yes, Summer is here.
If you're interested in photographing Warped Tour, here are five tips you should know.
The Photographer's Guide To Warped Tour
If you haven't read it already, first read my Photographer's Guide To Warped Tour for a full rundown of tips and suggestions for shooting the tour.
5 Tips For Photographing Warped Tour
1) Bring Plenty of Memory Cards & Batteries
If you're shooting all day at Warped Tour, make sure you come prepared with plenty of extra memory cards and ideally at least one extra battery.
Borrow or beg as many extra cards as you can – you will shoot more than you think you will.
2) Be Courteous In The Photo Pit
Warped Tour is just like any other live music event, so remember your photo pit etiquette. Photo pits at Warped Tour can become quite crowded, so a little courtesy goes a long way.
If you're using a point & shoot camera, minimize your footprint by keeping your camera close to your face (and not at arms length and in everyone else's shot).
3) Don't Worry About Camera Gear
That kit lens I told you to throw away? It's actually not a bad choice for Warped Tour, with its low stages, generally abundant light, and close access to the stage.
One of the best things about Warped Tour is the low barrier for entry. This includes access for small publications, but also in terms of photo gear as well – even today's P&S cameras can offer fantastic results for Warped Tour's daylight shooting.
4) Show Only Your Best Images
Want to know a secret of professional photographers? We only show our best work.
Shooting Warped Tour is only half the battle; the real trick comes after the show. Show only your best images and you've made yourself a better photographer – no new camera gear necessary.
5) Have Fun
You've got the best seat in the house for three songs, so enjoy yourself. It will show in your images.

